How to gain more traction on a limited budget cont'd.
Story and pictures by Keith Auble
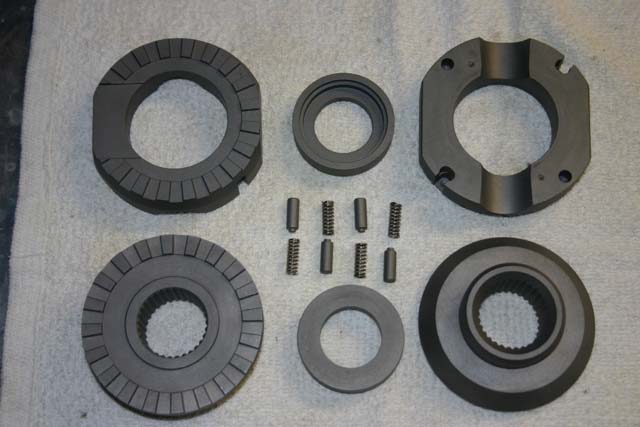
Ford 8.8 Aussie locker installI am a little late in this recommendation, but as with anything, you always want to be sure all the parts are included before you begin the install process. With the Aussie locker there are 14 pieces, with other lockers there are many more. Be sure to coat all of the locker components with an assembly lube to help facilitate the install process. |
Aussie locker before assembly 14 pieces total. |
One side of the locker installed with C-clip. |
To begin the installation place the side gear shim onto the axle gear then place into the carrier on the ring gear side. Attach the C-clip to the axle then push the axle out to hold the C-clip in place. Repeat the same process for the other side except for the install of the C-clip. |
Both sides of the locker installed. |

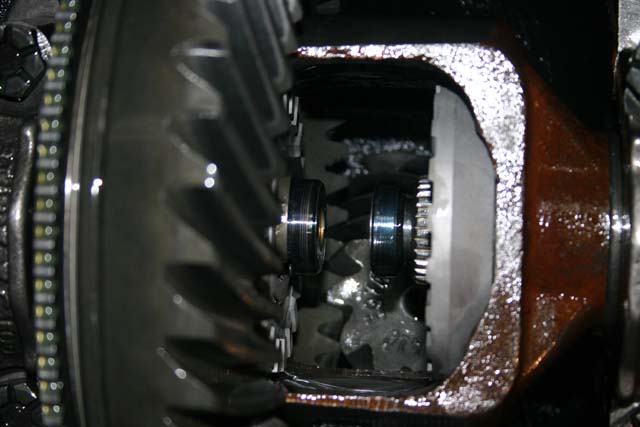
Axle gears and cam gears installed. |
Now that the axle gears are in place lets assemble the cam gears. Coat the pins and the C-clip cups with assembly lube. Insert the pins into the square slots with the nipple pointing towards the outside. Place the C-clip cup into the center of the cam gear as if it where to cover the C-clip. once you have the pins in place, insert the ring gear side first, be sure that the teeth are interlocking with the axle gear, and that the C-clip cup is completely seated. |

That was easy, right? Glad you thought so, cause this next step is going to make up for it. On the install of the other side you need to be sure the axle is pulled out of the cam gear to where it is flush with the face of it. Now with the cam gear fully assembled, just like the other side, slide it into the carrier then push the axle in to hold it in place. You may have noticed the slot on the cam gear, that is for installing the C-clip. Rotate the cam gears so the hole for the centerpin lines up. Slide the C-clip cup to the other cam gear. Insert the C-clip onto the axle through the slot in the cam gear. Try to come from an upward angle this will allow the C-clip to seat easier. Once the C-clip is in place, slide the cup back over the top of the clip. If everything is seated properly the centerpin should slide into the hole, if the centerpin does not, then most likely one of the C-clip cups is not seated completely. Do not install the centerpin yet. |
| This next step is is to install the springs into the square slots on the locker. First use a small screwdriver or a pick to slide the pins from the square slot into the round hole on the other side (yes I know bad joke :)). now install all four springs, make sure that they are centered over the nipple on the pin, and fully seated in the holes. |
Locker with pins and springs in place. |

Once all the springs are in place go ahead and reinstall the centerpin and retaining bolt. The install is just about complete. I know you are dying to know if its going to work or not so go ahead and turn the wheel. Notice both tires are spinning together. All that is left now is to reseal the diff, put the brakes and tires back on, then go for a drive. Under power the locker will force both tires to spin at the same speed, as you let up on the gas it unlock, this will allow one tire to spin faster than the other. This allows you to go around corners without the barking associated with a spool (solid locked diff.). With the Aussie Locker installed you will be able to go all those places you have never been. Please be responsible with your new power and remember to tread lightly. |
"Aussie Locker" is a registered trade mark
of Torq-Masters Technology, Inc.